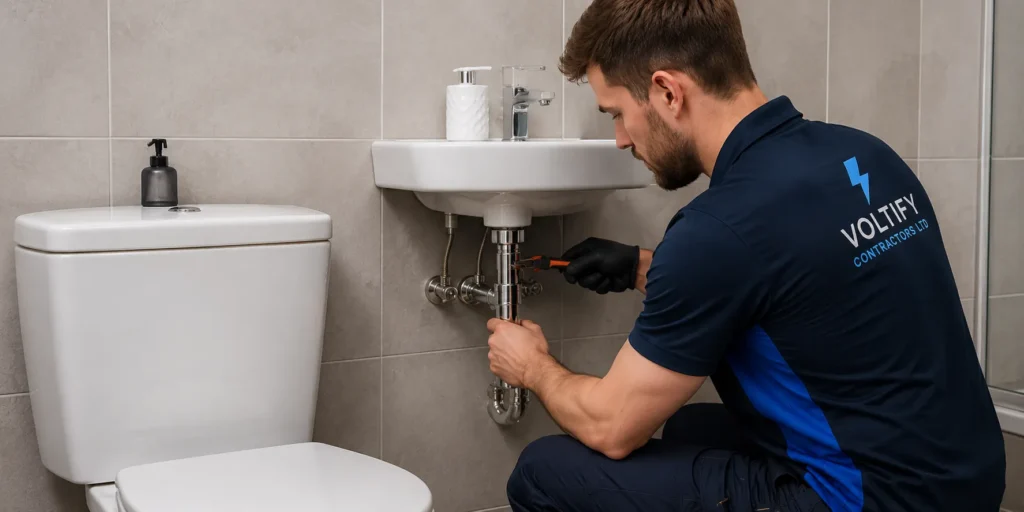

Most bathroom plumbing problems at a refit can be traced back to decisions made before the plumber arrived: a shower ordered that the water system cannot feed, a toilet whose outlet does not line up with the soil pipe, or tiles laid before anyone agreed where the pipes would come through. This bathroom plumbing checklist runs in the order those decisions are made, from deciding the scope to testing everything at the end, so each one is settled while it is still cheap to change.
It is written for homeowners, landlords and anyone managing a bathroom refit or suite replacement. How the plumbing work itself is staged, including first fix, second fix and moving fittings, is explained on our bathroom plumbing page; this article is the preparation around it.
1. Settle whether it is a replacement or a renovation
The biggest single factor in a bathroom job is whether the fittings stay where they are. Swapping a bath for a bath in the same spot reuses the existing supplies and wastes. Turning the bath into a walk-in shower, or moving the toilet to the other wall, means new routes for wastes and often for supplies too.
- Will each fitting stay in the same position, or is any of them moving?
- Is the footprint changing, for example a longer bath or a bigger shower tray than before?
- Is there a second toilet in the property? If not, the order of work needs to keep one working for as long as possible.
- In a rental, how long can tenants reasonably be without a bath or shower, and who will tell them?
- Who is doing the other work: removal, boarding, tiling, flooring and electrics?
2. Find out what the existing system is
New fittings have to work with the water system you already have. These checks can be done before anyone is booked, and the answers save time at the quote stage.
- Stopcock: where it is, and whether it turns fully off. A seized stopcock is better found now than on the day the bathroom is stripped.
- Isolation valves: whether the toilet, basin and bath each have a small valve on their supply. Without them, every change means turning off the whole property.
- How hot water is produced: a combi boiler with no cylinder, an unvented cylinder (usually with no cold-water tank in the loft), or a vented cylinder fed from a tank in the loft. This decides which showers and taps will work well.
- Pressure and flow: how the current shower and taps perform, and whether pressure drops when two outlets run at once. Our guide to low water pressure causes includes a simple flow check you can do with a jug.
- The soil pipe: where the large waste pipe leaves the bathroom or the building, since the toilet has to connect to it with enough fall.
- The floor: timber floorboards over joists, or a solid concrete floor. Wastes can sometimes run under a timber floor but usually cannot run through concrete without major work.
- What is below: a ceiling you own, or a neighbour’s flat. Any leak during or after the work affects them first.
- Visible pipework: copper, plastic, or older grey lead or iron pipe, which is usually best replaced while the room is stripped.
3. Check every product’s specification before you order
A product page or installation guide normally lists the details below. Checking them against the answers from step 2 is the most effective way to avoid returns and redesigns.
| Product | What to check | Why it matters |
|---|---|---|
| Basin and bath taps | Minimum operating pressure; number of tap holes; whether the tap suits high or low pressure systems | Many modern mixers give a weak flow on a tank-fed system, and a one-hole mixer will not fit a two-hole basin |
| Shower valve or mixer | Minimum pressure and flow; compatibility with a combi or gravity system; depth needed for a concealed valve | A concealed valve needs enough wall depth, and some showers need balanced hot and cold pressures |
| Electric shower | Power rating in kW compared with the shower being replaced | A higher rating can mean the existing cable and circuit protection are no longer suitable |
| Toilet | Outlet direction; distance from the wall to the centre of the outlet; where the water inlet enters the cistern | The outlet has to meet the soil pipe and the inlet has to meet the supply without awkward bends |
| Wall-hung toilet or concealed cistern | Frame requirements; wall construction; access panel position | The frame carries the load, and the cistern’s valves need to be reachable later |
| Basin and vanity unit | Waste size; whether the basin has an overflow (which affects the waste type); space for the trap inside the unit | Vanity drawers often leave little room for a standard trap |
| Bath | Length and width; capacity to the overflow; waste and overflow position | A bath holding more than 230 litres to the overflow has to be notified to the water supplier (see step 4) |
| Shower tray | Tray height; waste position; trap depth needed | Low trays leave little depth for the trap, which can mean raising the tray or cutting into the floor |
| Shower pump | Flow rate; the type of system it is designed for | Pumps should not draw directly from the mains, and larger pumps have to be notified to the water supplier |
If the shower is the main reason for the refit, the shower repair and installation page explains how each shower type depends on your hot-water system.
4. Sort out permissions and notifications
Three kinds of approval can apply to a bathroom, and they are easy to miss because none of them is about the look of the room.
Your lease or freeholder
In a flat, many leases require the freeholder’s or managing agent’s consent for changes to plumbing, especially anything connected to a shared soil stack or involving the floor structure. Check the lease before ordering, not after.
The water supplier
Under the Water Supply (Water Fittings) Regulations 1999, some installations in a home have to be notified to the water supplier before work starts. For bathrooms, the ones that come up are a bath with a capacity of more than 230 litres measured to the centre of the overflow, a bidet with an ascending spray or flexible hose, and a pump or booster drawing more than 12 litres per minute from a supply pipe. The supplier then has ten working days to respond (Water Regs UK). Work carried out by a plumber registered with an approved contractor scheme does not need advance notice, but is certified on completion instead (United Utilities). Ask whoever is doing the work which route applies.
Electrical work in the room
In England, adding to or altering a circuit in a room containing a bath or shower is notifiable under Part P of the Building Regulations, and so is installing a new circuit, such as one for a more powerful electric shower (Approved Document P, GOV.UK). Lighting, an extractor fan, a shaver socket or underfloor heating all count, so plan the electrical side alongside the plumbing rather than leaving it to the end.
5. Before the walls are boarded and tiled
Once first-fix pipework is in, there is a short window before it disappears behind boards and tiles. Use it.
- Confirm the final position of every pipe end against the actual products, not just the drawing.
- Check the new pipework has been pressure-tested before it is covered.
- Make sure there is an isolation valve for each fitting, and that you know where each one will be reachable once the room is finished.
- Agree access panels for a concealed cistern, a concealed shower valve and the bath trap.
- Check there is solid backing in stud walls where a wall-hung basin, toilet frame, grab rail or heavy cabinet will be fixed.
- Agree the extractor fan’s duct route with whoever is doing the electrics.
- Take photos of every wall and floor with the pipes visible, with a tape measure in shot. They are invaluable the next time anyone drills a hole in that room.
6. Handover checks once everything is connected
Go through these with the plumber present if you can, so anything that needs adjusting is dealt with on the day.
- Run every tap on hot and cold, and check the flow is what you expected.
- Flush the toilet several times. The cistern should refill and then stop completely, with no water still trickling into the pan.
- Fill the bath and basin to the overflow, then let them drain, checking the waste joints underneath where you can see them.
- Run the shower for a few minutes and check the tray drains without pooling and the temperature holds steady.
- Turn each isolation valve off and on so you know where they are and that they work.
- Ask how long the sealant needs before the bath or shower is used, and stick to it.
- Keep the instructions, model numbers and any spare cartridge or valve details together. They make future repairs much quicker.
For the first week or two, keep an eye on the ceiling below and on the floor around the toilet and tray. A slow weep from a joint often shows there before it shows anywhere else, and our guide on what to do if you have a water leak covers the first steps if one appears.
Once you have worked through the first four steps, you have most of what is needed for an accurate quote. Our bathroom plumbing service page explains what to send and how refits are planned around the other trades.